A while back one of E's teachers mentioned to me that they'd made a fresh batch of play dough for the children. Now I'd heard rumours before that you could make your own play dough but when I saw for myself how great the results were, I was shocked. There's no way we're going back to the shop bought stuff, especially as we're on a mission to clean up our lifestyle and cut back on unnecessary and chemicals. At least I know exactly what's in the play dough!
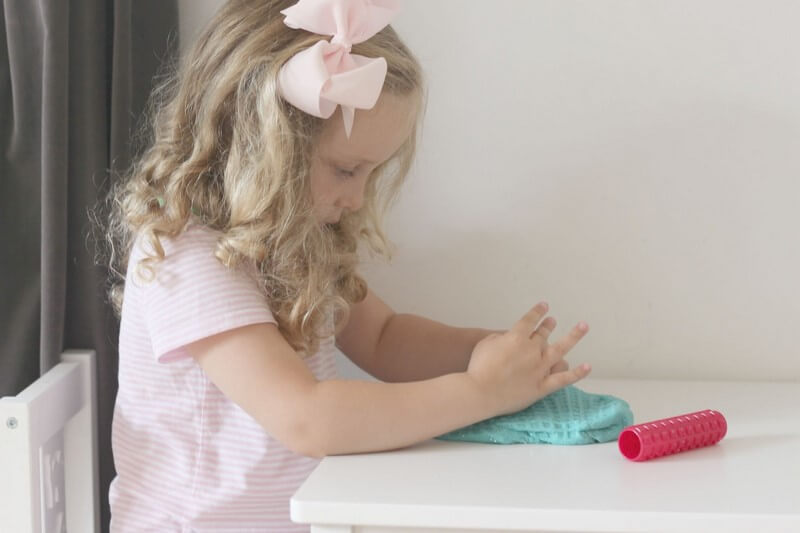
It is so so easy to make and please bear in mind that I am definitely not a domestic goddess, so if I can make this then anyone can! The children can also help too but obviously with supervision as you're going to need to use a hob. It's one of those great rainy-day activities that will keep little ones entertained for hours with literally just 10 minutes down time whilst the play dough cools.

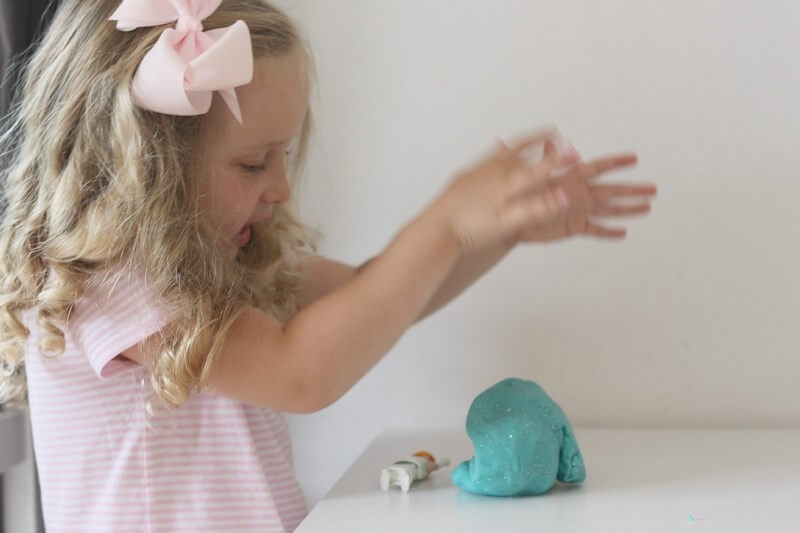
There are heaps of recipes for home made play dough online, especially on Pinterest. I've tried a few and this is the combination that works best for me. Like pretty much every little girl in the UK, E is still obsessed with Frozen so I made her day with this Frozen inspired Play dough. Of course you can use any colour you wish with an optional sprinkle of glitter
Ingredients:
1 cup Plain Flour
1 cup of water
1/3 cup Table Salt
2 Tablespoons of Cream of tartar
1 tablespoon of Coconut oil
1 teaspoon Almond Extract
Gel food colouring
Sprinkle of glitter
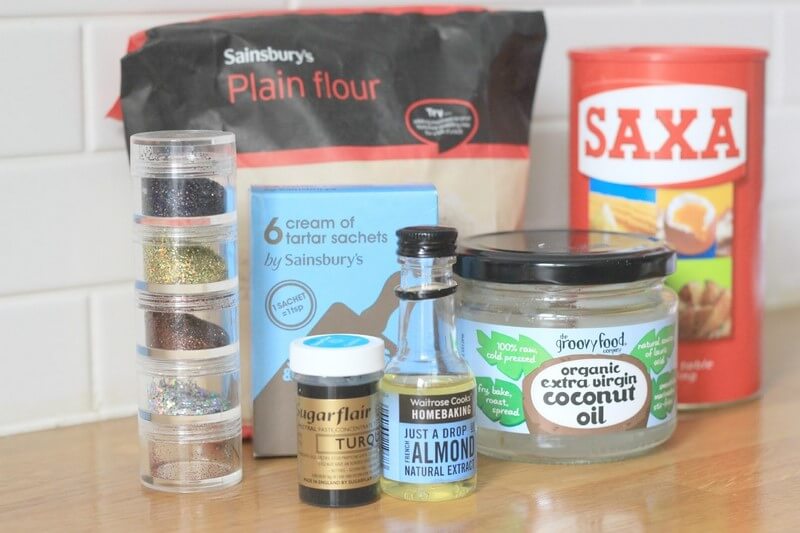
If you don't have coconut oil at home, you can use a vegetable oil, I personally prefer coconut oil because it doesn't leave a funny smell and isn't greasy. If you like you can also add a teaspoon of Almond extract which I think makes it smell like the real stuff or anything else that you prefer, at E's nursery they used to use Strawberry essence which smelled lovely.
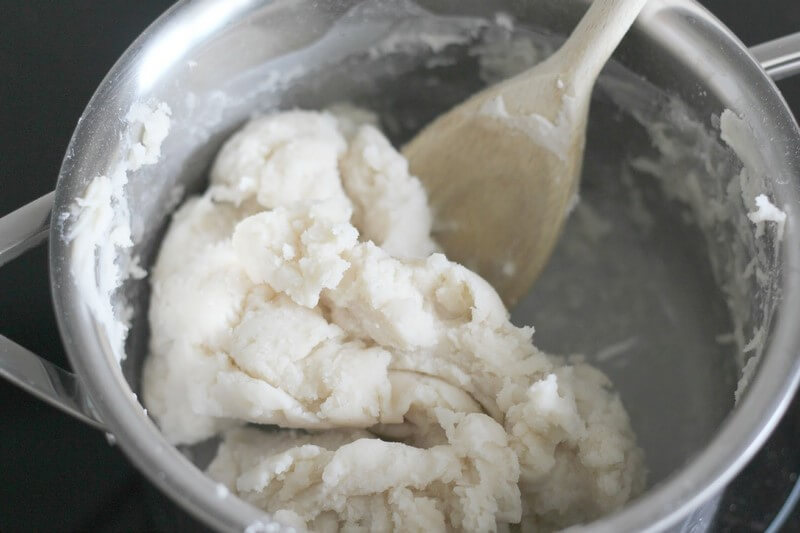
Keep stirring the mixture, don't panic if it starts to look lumpy, this is normal. After a few minutes the mixture will begin to thicken it should stick to the spoon and bind together like dough.
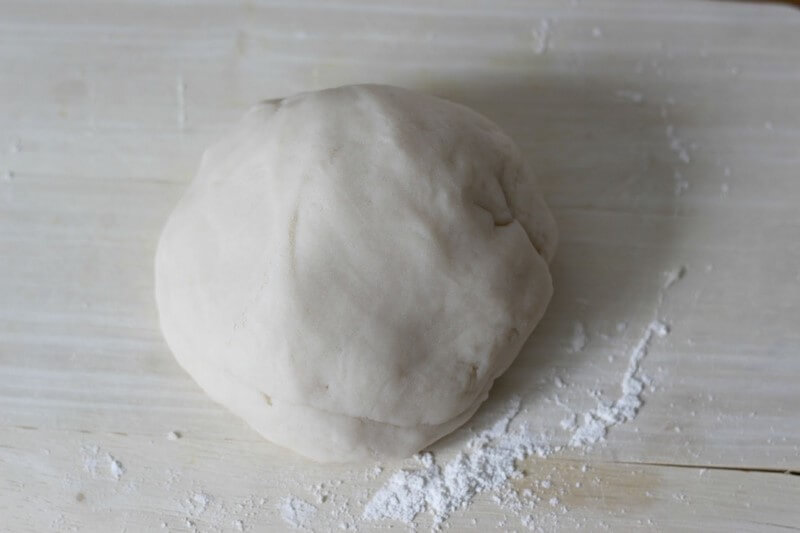
Remove the dough and place it on a surface out of the reach of little hands, too cool. Once it has cooled down, knead the play dough with a sprinkling of flour until smooth.
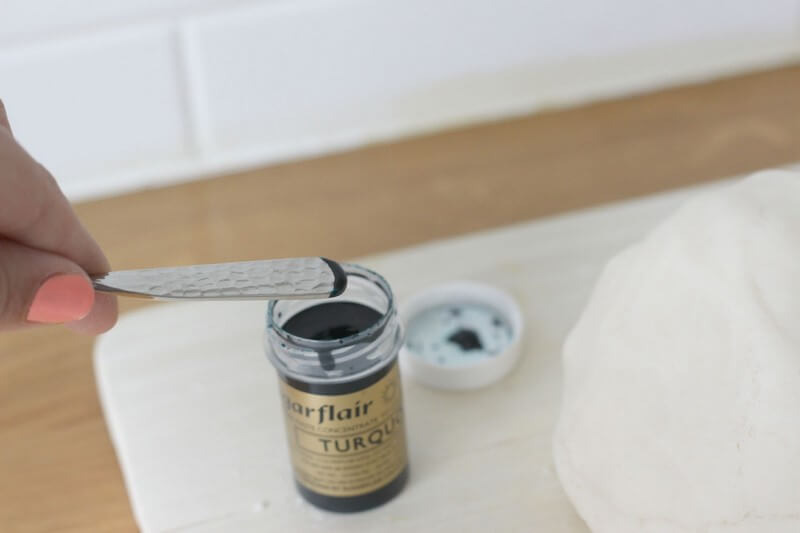
Now you can add your gel colouring, a little goes very far so I start with the tiniest amount. I use just enough to cover on the end of a teaspoon. I then knead this in to the dough and add more until I have the desired colour intensity. You can of course use regular food colouring but I prefer the gel as it gives a more vibrant colour to the play dough. I chose bright turquoise as we're going for a Disney Frozen theme!
Once you have blended in the food colouring you can add the glitter if you wish, add as much as you like and knead it in just as you did with the food colouring. We used medium sized silver holographic glitter to give the play dough that frozen and wintery look.
Then you're good to go......


Once your little ones have finished playing with the play dough then you can store it in an air tight container and it will last for months and months, much longer than the old shop bought play dough!
P.S. We're going to be trying this in Halloween colours such as orange, purple and green over half-term so look out for more pictures on my Instagram account.
Enjoy!!

Ah this looks so effective!! xx
Reply DeleteIt's brilliant and so easy to make!! Tyne would love it! xx
Delete