30.8.12

Nails of the week- a shade of grey ( sorry, couldn't resist)

Everyone is going nuts over grey at the moment it seems. Of course I'm talking about nail polish rather than the infamous 50 shades novels! Chanel, Essie and OPI amongst others have all recently released shades of greige.
Clockwise: Essie Miss Fancy Pants, OPI Berlin there done that, Chanel Frenzy. 

 I've been allowing myself to be lured in to the hype surrounding Chanel polishes since I bought my first ever Chanel Le Vernis, Rouge Noir back in the 90's ( showing my age now aren't I!!) Yes the packaging is gorgeous and I very much feel as though I am purchasing a luxury product but if I'm absolutely honest with myself, the actual polish itself isn't anything special. So, this time I have done a bit of research and found myself a gel product in a similar shade. Meet Shellac Cityscape......


Cityscape is a very light grey it's described by CND as being creamy dove grey but I can see the very slightest hint of lilac in there too. For me this is a true Autumn colour, it works well with a fading tan but truthfully it's too dull to wear in the summer when I like to go as bright possible most of the time.

What do you think? Will you be going grey this autumn?

26.8.12

Beach hair- DIY Sea Salt Spray

Well, judging by the weather this bank holiday weekend, summer is on it's way out and we are already welcoming autumn. I therefore should probably have written this post a few months ago but I guess I'm desperately trying to hang on to every last drop of summer that's left.
I have naturally curly hair and may have noticed that I often whinge about what a nightmare it is to style. My Babyliss Big Hair is an absolute life saver and you can read my review Here. Sometimes I do leave my hair curly, especially if it's warm or if I'm on holiday when blow drying my hair just seems like too much of a chore.
I love how my hair looks once I have been for a swim in the sea and my hair is left to air dry. Over the years I have tried just about every product in existence designed to create beach waves and have been left distinctly unimpressed by pretty much all of them, with the exception of John Frieda's Beach waves which was sadly a limited edition, WHY OH WHY!!!!!
So, lately I have been creating my own sea salt spray and not only is it extremely cost effective but I actually think that the results are far superior to many of the products that I have bought in the past.


Sea salt spray is sooooo easy to make, it literally takes seconds! Here's my recipe:

I add three generous tea spoons of sea salt to the bottle. Then I pour in the filtered/ boiled water until the bottle is 3/4 full. Finally I top up my concoction with leave in conditioner and give it all a good shake. You can use normal conditioner but I prefer leave in conditioner, it dissolves easier and I think it works better because it's designed to be left in your hair and not rinsed out.


Once I have washed and towel dried my hair, I smooth some Redken Argan 6 oil ( which I reviewed here) on the ends. I then generously spray the sea salt spray all over and then gently rake my fingers through to almost pull my curls out a little. If you have straight hair you'll need to do the opposite and actually scrunch the spray in to your hair.

Leave your hair to air dry. Beach waves naturally clump together slightly and if your hair isn't doing this you can always add a little more salt spray as required. 

Once your hair is dry, you should be left with gorgeous beach babe waves.

What do you think, have you ever made your own sea salt spray?


23.8.12

We made it..... little E is 1!!!

 I can't quite believe it!! A whole year has passed since our little E arrived in the world and I feel a huge sense of relief that we have all made it through her first year in one piece. Before she arrived, I was terrified of becoming a mother, yet now I can't remember what life was like without her.
Her first birthday was spent in our gloriously sunny garden, opening presents, playing with her cousins and stuffing her face with crisps and cake!! What more could a girl want??

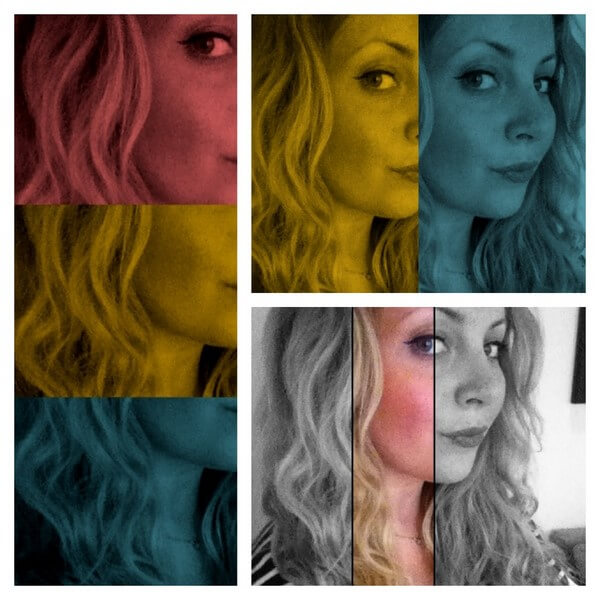
 Above: This time last year, an enormous me leaving the house absolutely terrified and Mr Jones in his scrubs ready to welcome his daughter in to the world.


Ready to leave the hospital!


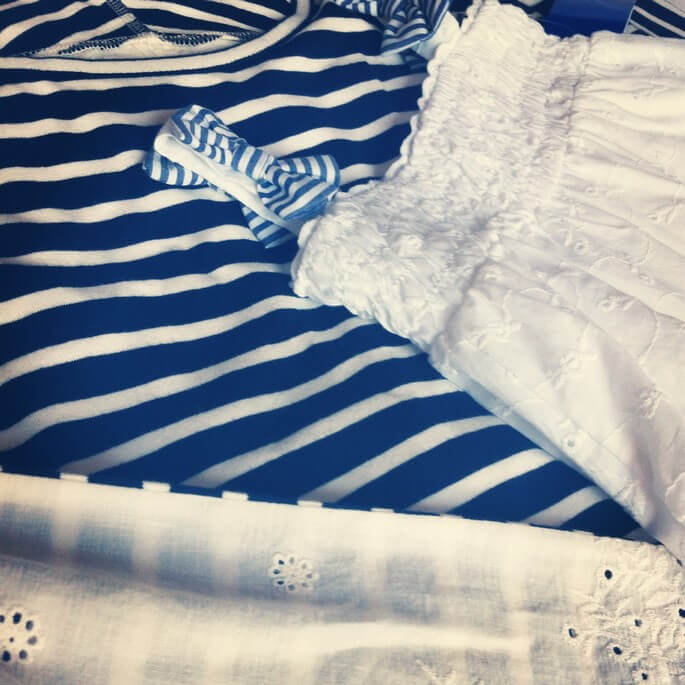
Matching broderie anglaise and striped party outfits. E and I don't usually coordinate our outfits but coincidentally I found this gorgeous broderie anglaise top from anthropologie which complemented little E's party dress which we bought from Ira in Athens.


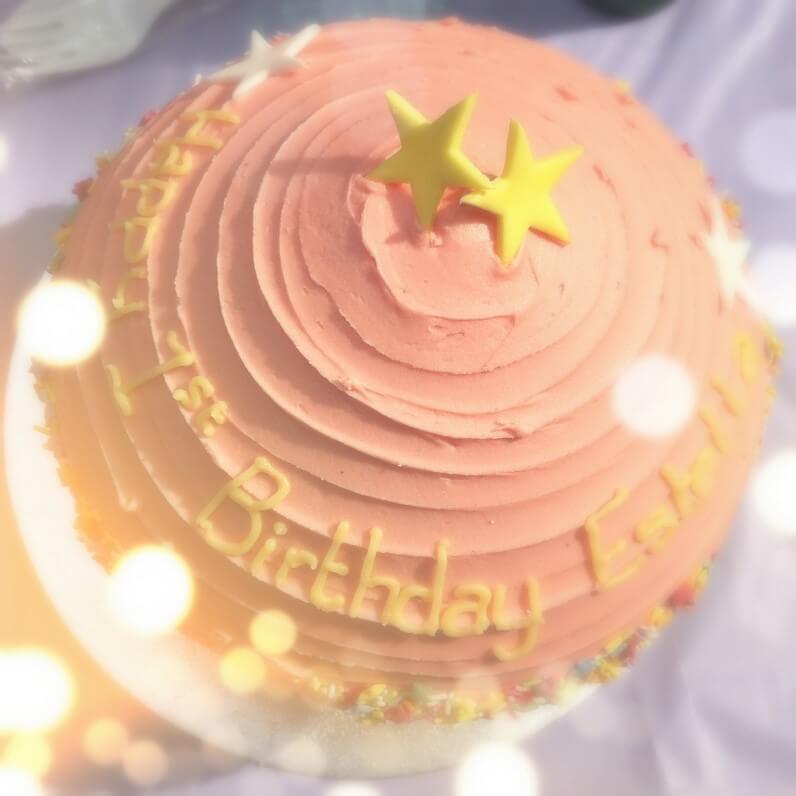
Little E adored her first ever birthday cake which I ordered from the Hummingbird bakery.


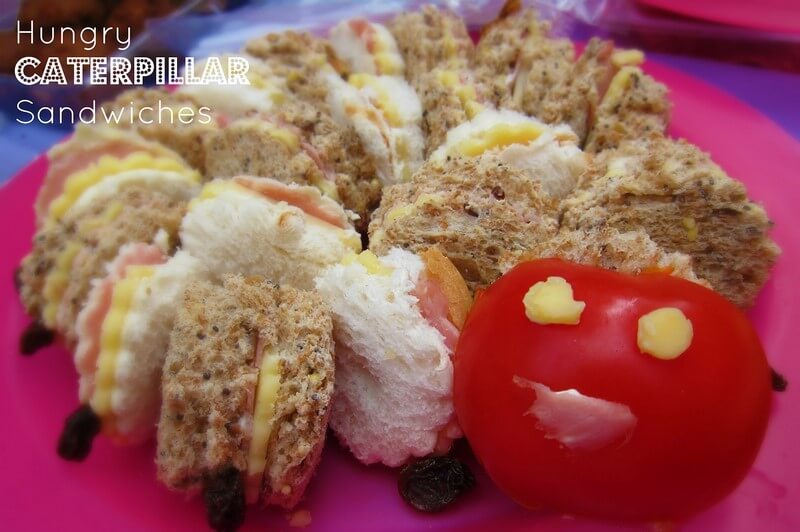
I discovered the hungry caterpillar sandwiches whilst browsing party ideas on Pinterest. You may laugh but I was inordinately proud of my little masterpiece. Ok, considering that 12 months ago I couldn't even boil an egg, it's what I call progress!!!! :)


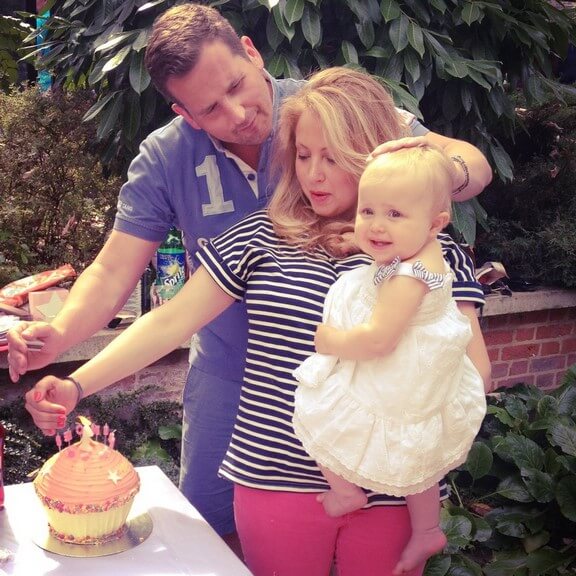
My favourite Jones family photos of the day.


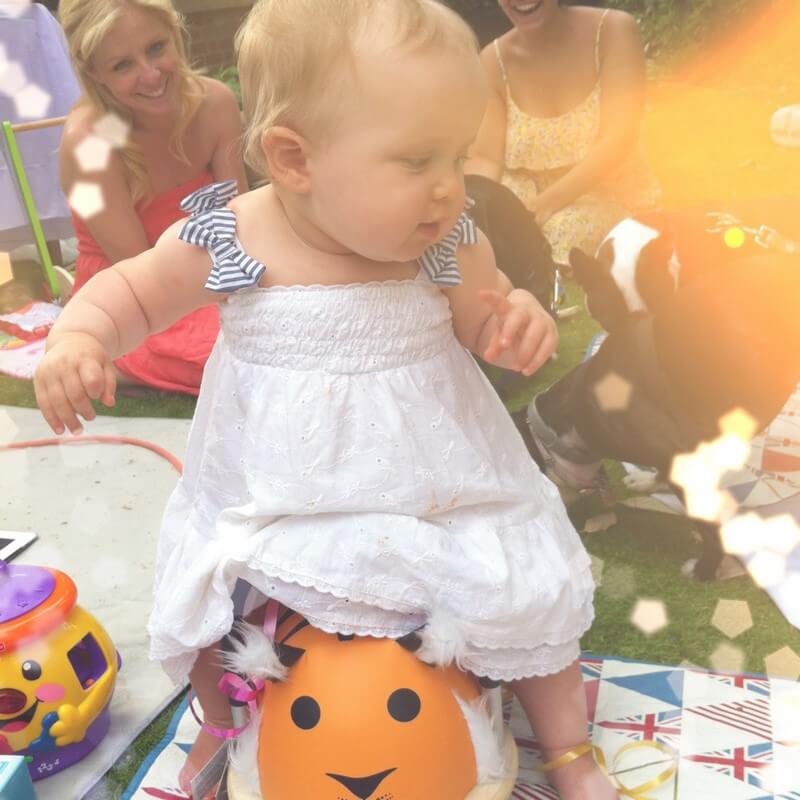
Grrrrrr don't mess with little E, she is a feisty Leo! (Ok so the wheely bug is actually a Tiger but we won't tell anyone)


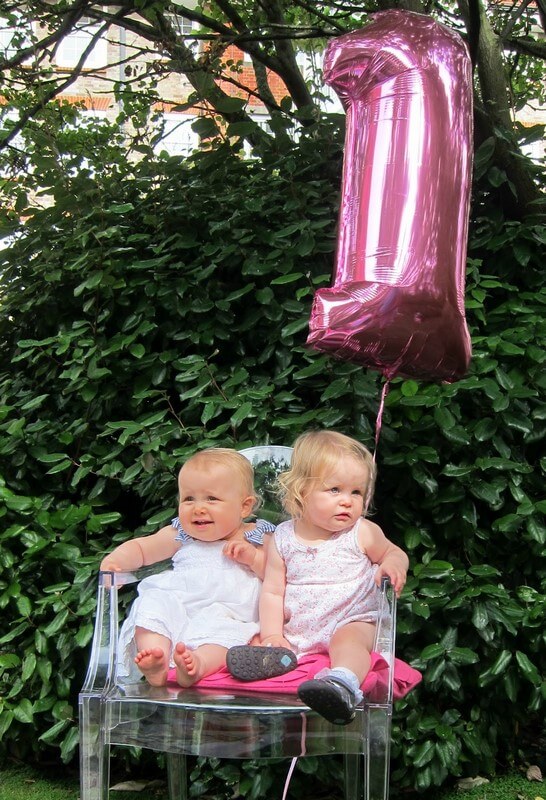
Party girls, Little E and  her best friend, cousin M, are now both 1!!! Where has the time gone?? 

What a difference a year makes, just over 12 months ago I had no idea how I would cope being a mama and now I can't bear the thought of going back to work, even part time and leaving her but I'm so looking forward the year ahead watching the two girls grow up together and of course blogging about it!


16.8.12

Nails of the week- Sally Hansen Salon Effects Cry Baby

I love hunting around in TK Maxx for baby bargains, a while ago I blogged about some beautiful Chloe Baby Dresses that I snapped up for just £16 each. I do find the shop a bit hit or miss though and this time the baby section was a bit disappointing, but what they lacked in the baby department they made up for in the beauty section and I picked up these Sally Hansen Nail Effects, in the exact colour that I'd had my eye on, for just  £4.


I love nail polish strips and I was really excited to give this brand a go. The colour - Cry Baby - is a really gorgeous neon peachy pink. I always struggle with neon nail colours, the application is often streaky and they usually require a few layers of top coat to really make them shine, these strips solve both these problems. They come in teeny packets which make them really easy to take on holiday. I took these away with me the other week, which saved me packing bottles of polish that always seem to leak in my suitcase!! Once the packet is opened you need to used these straight away because they do dry up.  
Unfortunately that is where the positives end for me with this particular brand of nail strips. Once applied they really felt like stickers, which I guess they are, but I have used other brands of nail strips such as Incoco which are so good that they make you forget they came out of a packet rather than a bottle.  
My biggest gripe with these however is that the colour faded and after just a day I was dying to remove them, but as I hadn't taken any other polish with I was kind of stuck with this washed out look. By the next day, the polish had chipped and I had no choice but to go au naturel! Which brings me to my next issue with these nail strips, they are an absolute nightmare to remove, not so convenient after all then!


Yes I realise that I am totally contradicting my last post where I stated that I would only ever post about products that I really really love. Here's the thing, the colour is just soooo lovely that, despite all the drawbacks, I would possibly consider using these, perhaps just to have lovely neon nails for a day when I  don't have time for a decent manicure. Next holiday however I will definitely be sticking to gel polish!


13.8.12

Bags of Love

When I first started writing Keeping up with the Joneses, I made a mental promise to myself that I would only review products that I really really like and that I felt tied in with the theme of the blog. So, it came as a coincidence that I was contacted by a company called Bags of Love to review their personalised photo gifts at a time when I had been looking around for something I could personalise as a reminder of my daughter when I return to work next week.
I was asked to select a product from www.bagsoflove.co.uk to personalise with a photo of my choice. It was a difficult decision because there are so many fantastic products and I was torn between an acrylic photo block which I could keep on my desk or the shopper. In the end I chose the shopper in natural and uploaded my favourite photo of little E, which you may remember won Pretty.Little.Things a while ago. There is also a Montage shopper which would be a fab way to display your favourite Instagram pics.
The shopper arrived within 2 days and I. am. in. love! My sister and I ordered an Anya Hindmarch 'Be a bag' for my mum a few years ago, which is a similar to the shopper but it took a few months to prepare in comparison to this.
The shopper has gorgeous tan leather handles, and the edges of the bag itself are a cream vinyl. I wasn't sure if I would like the vinyl part of the bag up close it's actually quite nice, it's really hard wearing and easy to clean any other fabric in this colour would probably get battered.


The bag had it's first outing to the Beach Volley at the Olympics and I got a ton of complements with people stopping and asking me where my bag was from! I have been using it non stop ever since, even taking it as cabin baggage on holiday last week. It's large enough to carry pretty much everything I need, above you can see what I took out on our day at the Olympics (including the obligatory but seriously unglamourous clear plastic ponchos) and there's still a ton of room left inside for a spare cardi or a change of clothes for the little one.
Overall I was really impressed with the speedy and efficient service I received from Bags of Love, the shoppers make excellent gifts for mamas and grandparents and there's heaps more on their website to cater for everyone else, definitely worth a look.

www.bagsoflove.co.uk

10.8.12

Top tips for tired eyes

Earlier this week, my lovely friend Karen who writes the fantastic blog 365 Pearls of Wisdom asked me if I had ever written a post on tired eyes to link up with a post she was putting together.  It's something that I have mentioned a few times in the past but I think it's high time that I dedicated an entire post to the subject. I have always suffered with dark circles and eye bags and they are even more prominent now that I have a baby. I believe that my problem is genetic and unless I opt for surgery I am pretty much stuck with it. This is what I do to (try) to disguise tired eyes:

  • Use a good eye make up remover which dissolves my eye make up so I don't end up rubbing and damaging the delicate skin under my eyes. Garnier 2 in1 eye make up remover gets rid of my eye make up effortlessly. I have heard people raving about the Bioderma eye make up remover but for me this Garnier product beats it hands down, it doesn't sting my eyes like the Bioderma cleanser does and it's much easier to get hold of.
  • Moisturise morning and night! I'm using La Roche Posay Hydraphase eye moisturiser at the moment which  helps reduce puffiness and fine lines, it's light enough to be worn under make up too.
  • Benefit Erase Paste- My secret weapon, this is the only concealer I have found that actually makes my dark circles disappear and doesn't sink into the creases under my eye. Light reflecting products such as touche eclat just highlight the problem for me. I use the no2 shade in winter and no3 in summer, often combining the two for the perfect tone.
  • A make up artist gave me a really great tip once- don't just apply concealer out of habit, assess your eye bags on a daily basis. If you're having a good day, don't bother with concealer. You don't want to draw attention to a problem that doesn't exist!
  • I have yet to try this but I am hearing lots of good things about Garnier's Anti Dark Circles Roll On, it contains caffeine which refreshes the eye area and also contains concealer, I NEED to try this!! 
  • Some of the lovely ladies over on twitter recommended using haemorrhoid cream on eye bags. It sounds gross and I was a bit dubious about using this but in fact it works wonders by shrinking the veins under the eye. It's not something I really want to use regularly so for me this is an emergency treatment only.
There some tricks you can also use which don't involve a trip to the cosmetics counter and are therefore totally free, yeyyy!!:
  • Cool some table spoons in the fridge and then place them under your eyes for instant de-puffing.
  • Whilst more sleep is an obvious solution, I console myself with the fact that too much sleep can actually increase puffiness! 
  • Reduce Salt intake- I try to avoid adding any salt to my food and also steer clear of processed food whenever I can. Additional salt in your diet can cause water retention which in turn can cause eye bags.
  • Drink plenty of water. An obvious one but lots of the lines we see under our eyes are caused by dehydration, water will help plump out fine lines and flush away yucky toxins, I do notice a difference in my eye bags if I haven't drunk enough water.

© Mrs Jones London . Design by Fearne.